Dryer Takes Two Cycles to Dry Clothes: Common Causes

A dryer that needs two or more cycles to dry a normal load usually has an airflow, ventilation, heating, moisture-sensing, or load-related problem.

The drum may still turn and the dryer may produce some heat, but restricted airflow or weak heating prevents moisture from leaving the clothes efficiently. Continuing to use the dryer this way can increase electricity or gas consumption, damage heating components, and create a fire risk if lint is restricting the exhaust system.

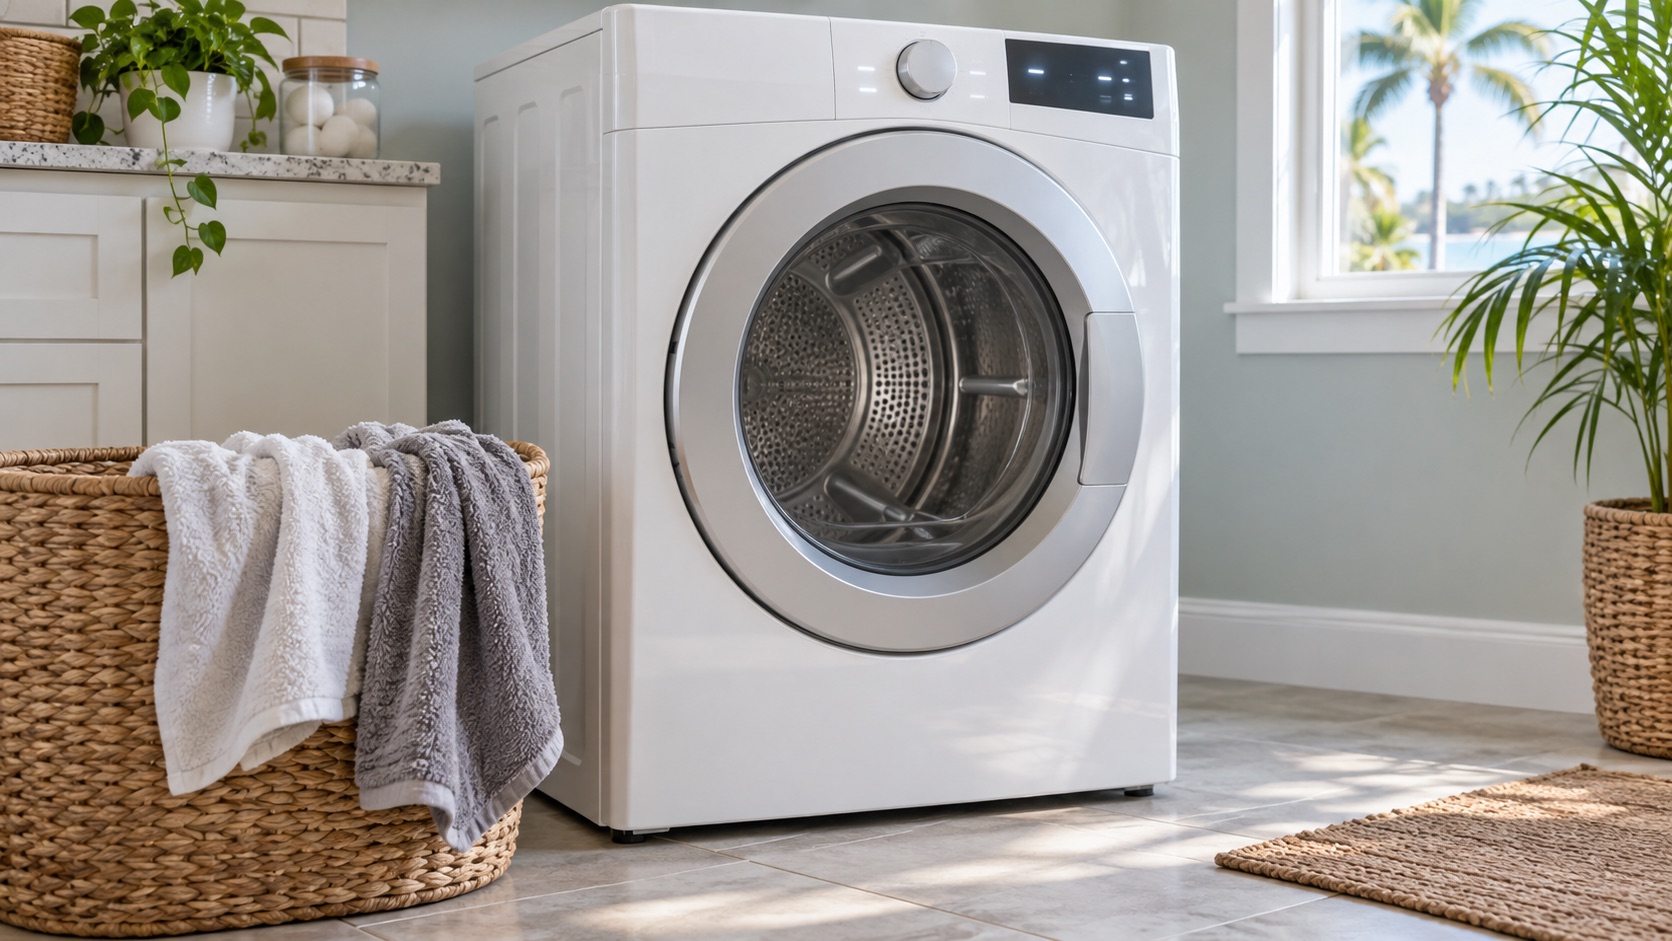
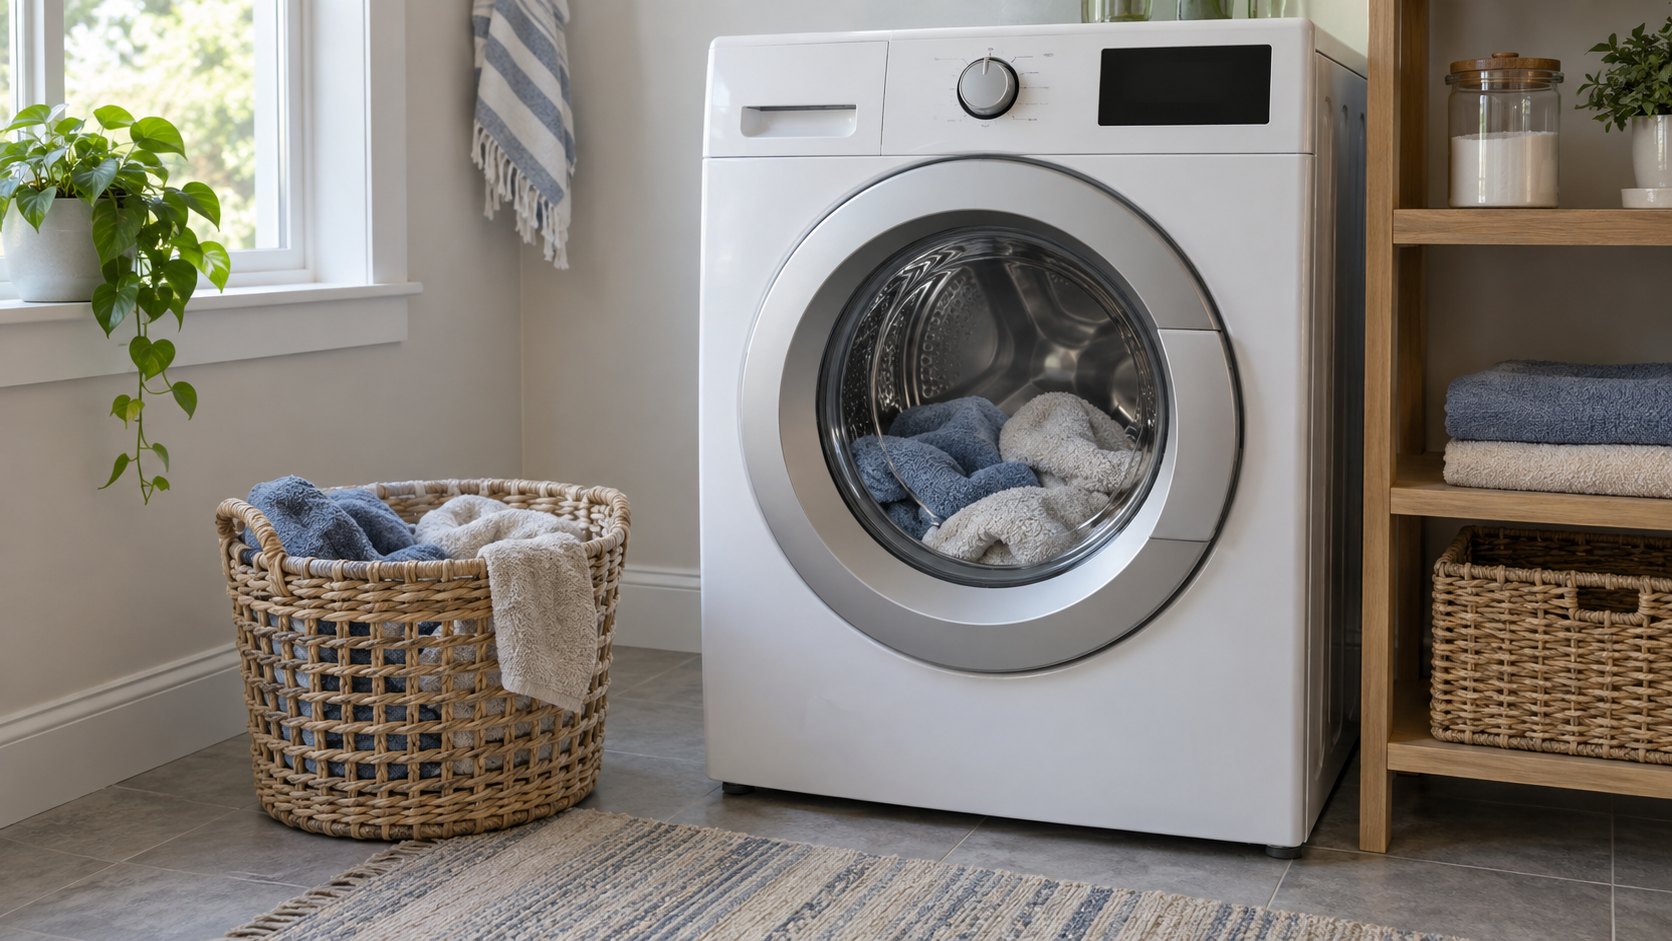
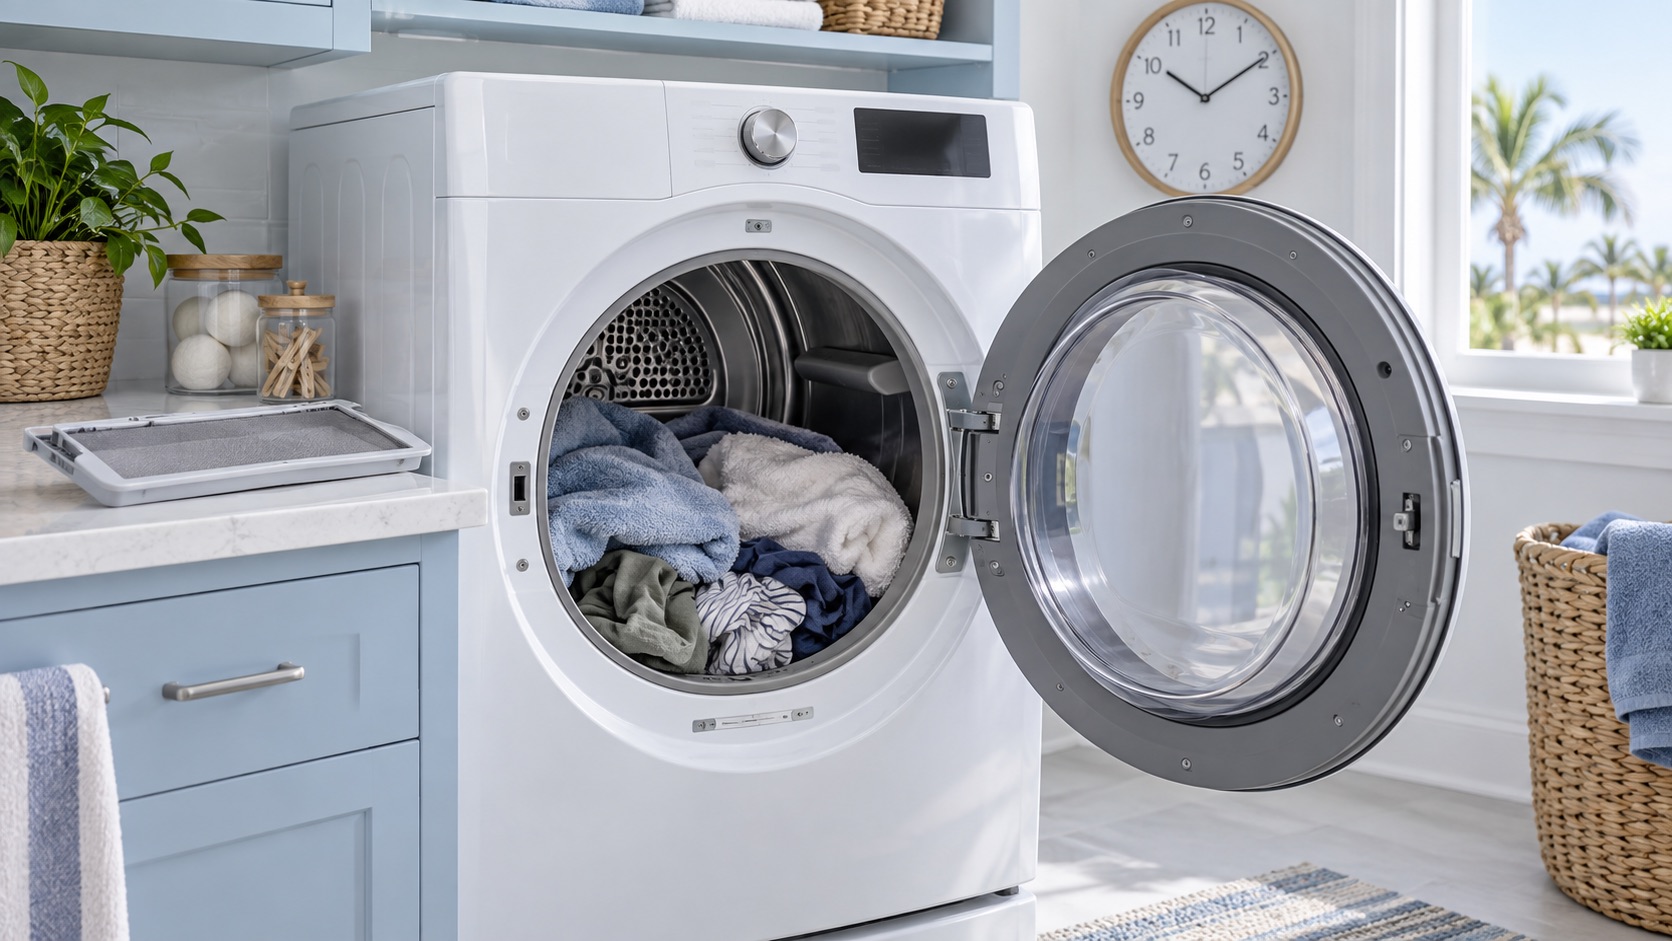
Front-load dryer with damp towels during a long drying time diagnosis

How Long Should a Normal Dryer Cycle Take?

Drying time depends on the load, fabric type, selected cycle, dryer design, and exhaust installation.

A normal mixed load may take approximately:

  • 35–60 minutes in an electric dryer;
  • 30–50 minutes in a gas dryer;
  • longer for towels, blankets, or heavy fabrics;
  • longer on low-temperature or energy-saving cycles.

A problem is more likely when:

  • a normal load consistently needs two complete cycles;
  • towels remain damp after more than an hour;
  • the dryer becomes very hot but clothes stay wet;
  • the dryer has heat but weak airflow;
  • drying time has gradually increased;
  • clothes dry faster with the vent disconnected;
  • the exterior vent flap barely opens;
  • the dryer stops before the clothes are dry;
  • automatic cycles end too early.

Is the Dryer Heating Properly?

Before focusing only on the vent, determine whether the dryer is producing normal heat.

After the dryer has run on a heated cycle for several minutes:

  • the air inside should feel warm or hot;
  • the dryer should not remain completely cold;
  • heat should cycle on and off;
  • the cabinet should not become excessively hot;
  • airflow should be strong at the exterior vent.

A dryer that produces no heat has a different problem from one that heats normally but dries slowly.

For a complete no-heat condition, see:

Dryer Runs but Does Not Heat: Common Causes

Airflow and Ventilation Problems

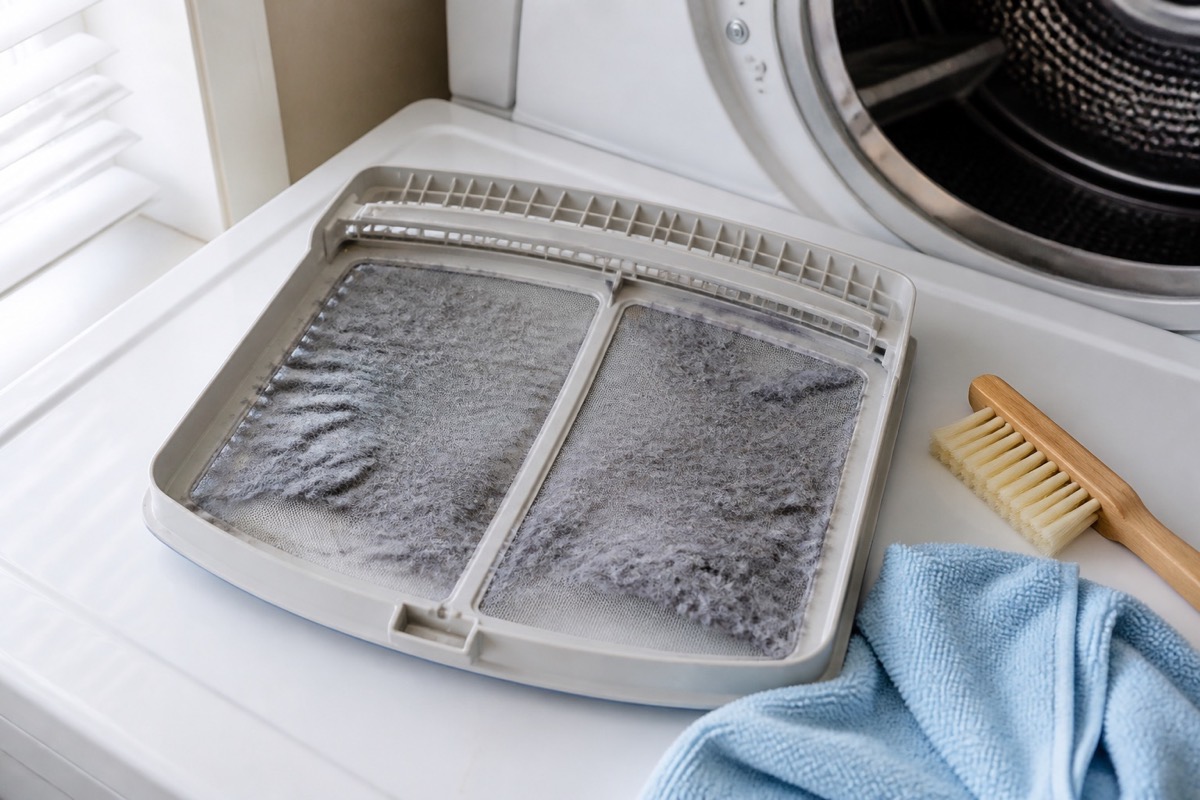
1. The Lint Screen Is Clogged

A lint screen covered with lint restricts airflow through the dryer.

Even a partial restriction can cause:

  • longer drying times;
  • clothes remaining damp;
  • dryer overheating;
  • heating system cycling off early;
  • lint collecting inside the cabinet;
  • increased energy use.

Clean the lint screen before every load.

Do not operate the dryer without the filter installed because lint can enter the blower and exhaust system.

2. The Lint Screen Has an Invisible Coating

Dryer sheets and fabric softener can leave a waxy residue on the lint screen.

The screen may look clean while still blocking airflow.

To check:

  1. Remove visible lint.
  2. Hold the screen under running water.
  3. Observe whether water passes through easily.

If water stays on the surface, wash the screen with warm water, mild soap, and a soft brush.

Rinse it thoroughly and allow it to dry before reinstalling it.

3. The Dryer Vent Hose Is Kinked or Crushed

The exhaust hose behind the dryer may become crushed when the appliance is pushed too close to the wall.

Common problems include:

  • sharp bends;
  • hose flattened against the wall;
  • excessive hose length;
  • hose twisted during installation;
  • dryer pushed against the vent connection;
  • damaged flexible duct.

A restricted hose reduces airflow and traps heat and moisture inside the drum.

Carefully pull the dryer forward only if the gas line, power cord, and vent connection allow safe movement.

4. The Dryer Vent Is Clogged

Lint can collect inside the wall or ceiling vent even when the lint screen is cleaned regularly.

A clogged vent is one of the most common reasons a dryer takes two cycles.

Possible signs include:

  • weak airflow outside;
  • exterior flap barely opening;
  • dryer becoming unusually hot;
  • laundry room feeling warm or humid;
  • burning-lint smell;
  • clothes remaining damp;
  • thermal fuse or heating element failing;
  • drying time gradually increasing.

The complete vent path should be inspected from the dryer to the exterior termination.

Cleaning only the short hose behind the dryer may not remove a blockage farther inside the home.

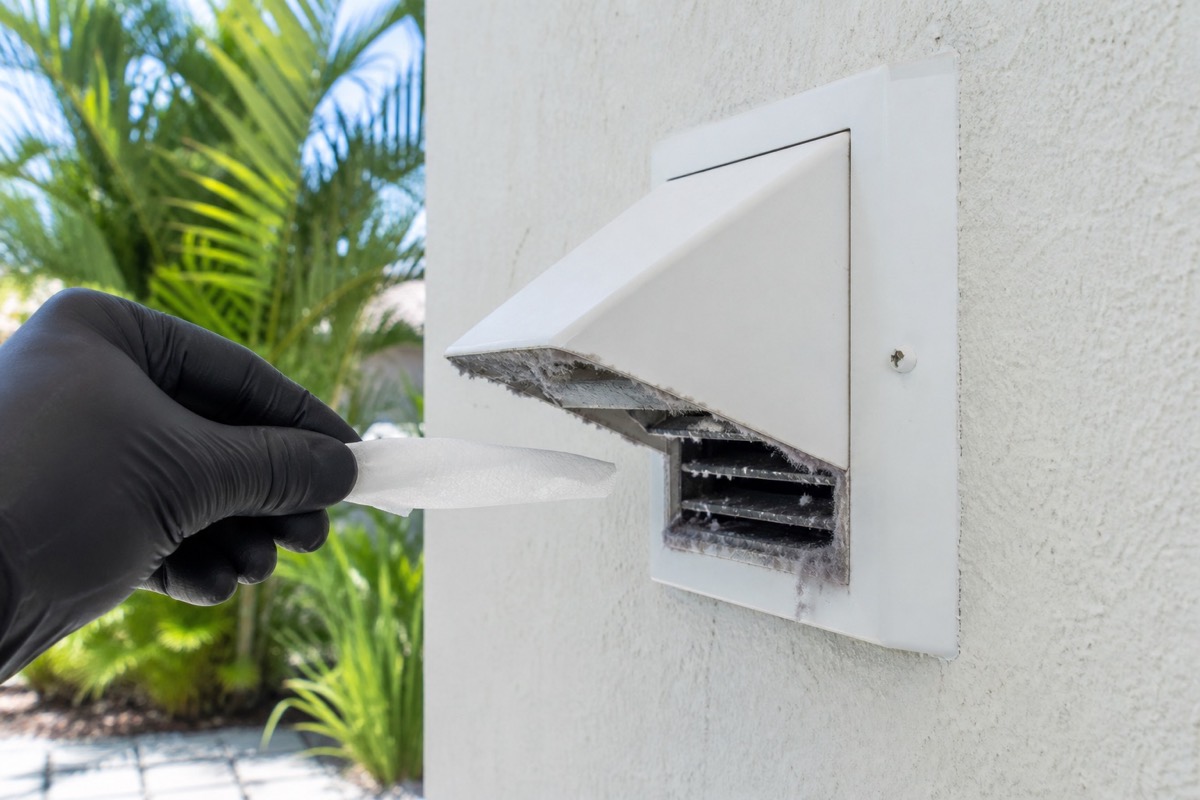
5. The Exterior Vent Hood Is Blocked

The outside vent may be restricted by:

  • lint;
  • leaves;
  • insect nests;
  • bird nests;
  • storm debris;
  • damaged flap;
  • paint;
  • corrosion;
  • an incorrectly installed screen.

The exterior flap should open fully while the dryer is running.

In Southwest Florida, outdoor vents can also be affected by humidity, insects, heavy rain, and storm debris.

Do not install a fine screen over a dryer vent because it can collect lint and restrict airflow.

6. The Vent Run Is Too Long

A long or complicated vent system creates resistance.

Drying performance may decrease when the vent has:

  • excessive total length;
  • several 90-degree turns;
  • vertical sections;
  • a roof termination;
  • narrow ducting;
  • flexible duct throughout the run.

Every bend reduces effective airflow.

The installation should follow the dryer manufacturer’s maximum vent-length requirements.

7. The Wrong Vent Material Is Installed

Thin plastic or flexible foil vent hose can sag, crush, and collect lint.

A safer and more efficient installation generally uses:

  • rigid metal duct;
  • semi-rigid metal transition duct;
  • smooth internal surfaces;
  • short, direct routing.

Plastic vent material may also create a fire hazard and should not be used unless specifically approved for the installation.

Internal Airflow Problems

8. Lint Has Built Up Inside the Dryer

Lint can bypass the filter and collect inside:

  • the blower housing;
  • heating-element housing;
  • internal exhaust duct;
  • motor compartment;
  • cabinet base;
  • around thermostats and sensors.

Internal lint buildup may cause:

  • weak airflow;
  • long drying times;
  • burning smell;
  • dryer overheating;
  • thermal fuse failure;
  • heating element damage;
  • increased fire risk.

Internal cleaning may require partial disassembly.

The dryer should be disconnected from electrical power and gas before internal service.

9. The Blower Wheel Is Clogged

The blower wheel pulls air through the drum and pushes it into the exhaust duct.

Lint, fabric, or debris can block the wheel or housing.

Possible symptoms include:

  • weak airflow outside;
  • dryer heats but clothes remain wet;
  • rumbling or scraping noise;
  • lint collecting around the filter;
  • dryer overheating;
  • long cycle times.

The blower housing may need to be opened and cleaned.

10. The Blower Wheel Is Loose or Damaged

A blower wheel may loosen from the motor shaft or develop broken blades.

The motor can run normally while the blower moves very little air.

Possible symptoms include:

  • airflow becomes weaker;
  • unusual rattling or thumping;
  • dryer sounds different from normal;
  • clothes remain damp;
  • dryer overheats;
  • wheel spins independently of the motor shaft.

A damaged blower wheel normally requires replacement.

11. The Internal Air Duct Is Blocked

Lint or clothing can obstruct the duct between the drum, filter housing, blower, and rear exhaust outlet.

Possible causes include:

  • small socks entering an opening;
  • damaged lint filter;
  • lint buildup;
  • foreign objects;
  • collapsed internal duct;
  • incorrectly installed service panel.

The complete airflow path should be checked when the exterior vent is clear but airflow remains weak.

Heating-System Problems

12. The Heating Element Is Weak or Partially Failed

An electric dryer heating element may still produce some heat even when part of the coil has failed.

Possible symptoms include:

  • dryer feels warm but not hot enough;
  • clothes need two cycles;
  • heat is inconsistent;
  • element heats only in certain areas;
  • drying time gradually increases;
  • dryer works better on smaller loads.

The element should be tested for:

  • electrical continuity;
  • correct resistance;
  • broken coils;
  • a short to the metal housing;
  • damaged connectors.

A weak heating element may be caused or accelerated by restricted airflow.

13. One Side of the 240-Volt Supply Is Missing

An electric dryer typically requires approximately 240 volts for full heat.

The motor and control panel may operate even if one side of the electrical supply is missing.

This can cause:

  • dryer running with no heat;
  • weak or intermittent heating;
  • very long drying times;
  • only one heating circuit operating;
  • breaker appearing normal.

Reset the double breaker by moving it fully to OFF and then back to ON.

If the breaker trips again, stop using the dryer and schedule electrical or appliance service.

14. The Cycling Thermostat Is Not Regulating Correctly

The cycling thermostat controls normal dryer temperature.

If it opens too early, the heater may not remain on long enough.

Possible symptoms include:

  • heat feels weak;
  • clothes take two cycles;
  • dryer temperature changes unpredictably;
  • heat works better on certain settings;
  • automatic cycles perform differently from Timed Dry.

Some electronic dryers use a thermistor instead of a traditional cycling thermostat.

15. The High-Limit Thermostat Is Opening Too Early

The high-limit thermostat protects the dryer from overheating.

Restricted airflow can cause it to interrupt the heating circuit before clothes are dry.

Possible symptoms include:

  • dryer heats at first and then cools;
  • heating cycles are very short;
  • cabinet becomes hot;
  • clothes stay damp;
  • problem improves temporarily with the vent disconnected.

The cause of overheating must be corrected before replacing safety components.

16. The Thermistor Is Reading the Wrong Temperature

An electronic thermistor reports exhaust temperature to the control board.

If its resistance is incorrect, the board may reduce or stop heat too early.

Possible symptoms include:

  • long drying time;
  • incorrect temperature;
  • heat stops prematurely;
  • cycle time changes unexpectedly;
  • dryer displays an error code;
  • Timed Dry works differently from automatic cycles.

The thermistor should be tested at a known temperature and compared with manufacturer specifications.

Gas Dryer Heating Problems

17. The Gas Valve Coils Are Weak

Gas valve coils may operate correctly when cold and fail after heating up.

This is a common reason a gas dryer produces heat at the beginning of the cycle but stops heating later.

Possible symptoms include:

  • burner lights once or twice;
  • dryer starts hot and then becomes cool;
  • igniter glows but the flame does not return;
  • clothes require multiple cycles;
  • heat returns after the dryer cools down.

Gas valve coils are usually replaced as a set.

18. The Gas Igniter Is Weak

A weak igniter may glow but fail to draw enough current to open the gas valve reliably.

Possible symptoms include:

  • delayed ignition;
  • intermittent flame;
  • long preheat before the burner starts;
  • dryer heats only occasionally;
  • igniter glows but no flame appears.

The igniter should be tested electrically.

A glowing igniter is not always a working igniter.

19. The Flame Sensor Is Faulty

The flame sensor monitors heat from the igniter and burner.

If it does not operate correctly, the burner may fail to light or relight.

Possible symptoms include:

  • igniter glows;
  • gas valve does not open;
  • dryer heats intermittently;
  • burner shuts down unexpectedly;
  • clothes remain damp.

The flame sensor, igniter, gas valve coils, and burner operation should be tested together.

20. The Gas Supply Is Restricted

A partially closed gas valve or restricted supply can reduce burner performance.

Check whether:

  • the gas shutoff valve is fully open;
  • the gas line is kinked;
  • other gas appliances work normally;
  • the dryer is configured for the correct gas type.

If you smell gas, do not operate the dryer or electrical switches. Leave the area and contact the gas company or emergency service.

Moisture-Sensing and Cycle Problems

21. The Moisture Sensor Is Dirty

Automatic dryer cycles use metal sensor bars to detect moisture in the clothing.

Residue from dryer sheets and fabric softener can coat the sensors.

This may cause the dryer to:

  • end the cycle too early;
  • switch to cool-down;
  • leave clothes damp;
  • display an incorrect remaining time;
  • perform better on Timed Dry.

Clean the sensor bars with mild soap and a soft cloth.

Do not use abrasive materials that could damage the surface.

22. The Moisture Sensor Is Faulty

A damaged sensor or wiring problem may send incorrect information to the control board.

Possible symptoms include:

  • automatic cycle ends quickly;
  • clothes remain wet;
  • cycle time changes suddenly;
  • Timed Dry works normally;
  • sensor-related error code.

The sensor bars, wiring, connector, and control input should be tested.

23. The Dryer Is Using an Eco or Energy-Saving Cycle

Energy-saving cycles may use:

  • lower temperatures;
  • longer cool periods;
  • moisture-sensor control;
  • intermittent heating;
  • reduced fan or burner operation.

These cycles can take longer, especially with:

  • heavy towels;
  • mixed fabrics;
  • large loads;
  • very wet clothes.

Test the dryer on Timed Dry with a normal or high heat setting to compare performance.

24. The Automatic Cycle Ends Too Early

An automatic cycle may end early because of:

  • dirty moisture sensors;
  • very small load;
  • mixed fabric types;
  • clothes not contacting the sensors;
  • control-board problem;
  • sensor wiring issue.

Small loads may tumble without touching the moisture sensor bars consistently.

Timed Dry may work better for very small loads.

Washer and Load Problems

25. The Washer Is Leaving Clothes Too Wet

The dryer may be functioning correctly while the washing machine fails to remove enough water during spin.

Possible washer problems include:

  • washer not spinning;
  • washer not draining;
  • unbalanced load;
  • worn suspension;
  • drive-system failure;
  • low spin-speed selection;
  • overloaded washer.

Clothes should not be dripping wet when transferred to the dryer.

If they are unusually heavy or saturated, the washer should also be checked.

26. The Dryer Is Overloaded

An overloaded dryer restricts airflow between clothing items.

Possible symptoms include:

  • outer clothes dry while inner clothes remain wet;
  • towels require multiple cycles;
  • clothes become tangled;
  • moisture sensor readings are inaccurate;
  • drying time increases significantly.

The drum should be filled loosely enough for clothes to tumble freely.

27. The Load Is Too Large for the Dryer

A washer may have a larger capacity than the dryer.

A full washer load may need to be divided into two dryer loads.

This is especially important for:

  • comforters;
  • blankets;
  • towels;
  • jeans;
  • bedding;
  • heavy work clothing.

28. Mixed Fabrics Are Drying Unevenly

Light clothing may dry quickly while heavy fabrics remain damp.

Mixed loads can confuse automatic moisture sensing.

For better results:

  • dry similar fabrics together;
  • separate towels from lightweight clothing;
  • avoid combining sheets with small garments;
  • use the correct temperature for the load.

29. Sheets or Large Items Are Forming a Ball

Sheets, blankets, and duvet covers may wrap around smaller items.

The outer fabric dries while clothing trapped inside remains wet.

Pause the dryer and separate the load if large items become tangled.

Drying fewer large items at a time may improve airflow.

30. The Dryer Load Is Too Small

A very small load may not contact the moisture sensors consistently.

This can cause an automatic cycle to stop early.

Use Timed Dry for:

  • one or two items;
  • lightweight garments;
  • small loads;
  • items that remain damp after an automatic cycle.

Installation and Environmental Problems

31. The Laundry Room Has Poor Ventilation

A hot, enclosed laundry area can reduce dryer efficiency.

The dryer needs enough room air to replace the air exhausted outside.

Problems may occur when:

  • closet doors are sealed;
  • ventilation openings are blocked;
  • the room becomes extremely hot;
  • another exhaust appliance creates negative pressure.

Follow the installation-clearance requirements for the dryer.

32. The Dryer Is Installed in a Hot Garage

High temperatures and humidity can affect dryer performance and ventilation.

In Southwest Florida garages, possible issues include:

  • dryer and motor overheating;
  • moisture remaining in the exhaust system;
  • longer cool-down periods;
  • vent condensation;
  • reduced component life.

Make sure the dryer has adequate airflow and the exterior vent remains clear.

33. The Dryer Is Too Close to the Wall

Insufficient rear clearance may crush the exhaust hose.

The dryer should have enough space for:

  • power cord;
  • gas line, if applicable;
  • vent connection;
  • safe airflow;
  • service access.

A recessed vent box or low-profile metal connector may help when space is limited.

34. The Dryer Is Not Level

A dryer that is not level may tumble clothes unevenly.

Possible symptoms include:

  • clothing collecting on one side;
  • vibration;
  • drum noise;
  • large items not tumbling correctly;
  • uneven moisture-sensor contact.

Adjust the leveling feet so the appliance is stable.

What Can You Safely Check?

Before scheduling service, you can:

  1. Clean the lint screen.
  2. Wash the lint screen if water does not pass through it.
  3. Check the vent hose for kinks or crushing.
  4. Check for strong airflow at the exterior vent.
  5. Confirm that the outside flap opens fully.
  6. Test a normal load using Timed Dry.
  7. Compare Timed Dry with an automatic cycle.
  8. Clean the moisture sensor bars.
  9. Reduce the load size.
  10. Separate heavy and lightweight fabrics.
  11. Check whether clothes leave the washer excessively wet.
  12. Reset the double breaker on an electric dryer.
  13. Note whether heat stops after several minutes.
  14. Stop using the dryer if it overheats or smells burned.

Do not operate the dryer with the vent permanently disconnected.

Do not remove electrical or gas components unless you have the correct training and equipment.

A Simple Airflow Comparison

A technician may temporarily compare dryer performance with the exhaust disconnected to help determine whether the house vent is restricted.

This should be done only for a brief diagnostic test in a safe, well-ventilated area.

Do not operate a gas dryer without proper exhaust ventilation because combustion gases, including carbon monoxide, must be vented outdoors.

Do not leave any dryer permanently venting into the home.

When Should You Stop Using the Dryer?

Stop the dryer and disconnect power when:

  • you smell burning lint, wiring, or plastic;
  • the cabinet becomes extremely hot;
  • the breaker repeatedly trips;
  • the cord or outlet becomes hot;
  • smoke is present;
  • airflow is almost completely blocked;
  • the heating element appears to remain on continuously;
  • you hear electrical arcing;
  • a gas odor is present.

A dryer with severely restricted airflow can become a fire hazard.

When Should You Call a Dryer Technician?

Professional diagnosis is recommended when:

  • the dryer consistently needs two or more cycles;
  • airflow is weak even after checking the hose;
  • the vent is clear but drying remains slow;
  • heat starts and then stops;
  • an electric dryer does not receive full voltage;
  • the gas burner does not relight;
  • the blower wheel is loose or damaged;
  • the dryer overheats;
  • automatic cycles end too early;
  • the washer is spinning normally but clothes remain wet;
  • an error code appears;
  • the problem returns after cleaning the vent and sensors.

A technician can inspect the vent connection, blower wheel, heating element, thermostats, thermistor, moisture sensors, gas ignition system, wiring, motor, and control board.

Should You Repair or Replace the Dryer?

Repair is often reasonable when the problem involves:

  • clogged vent;
  • damaged exhaust hose;
  • blower wheel;
  • heating element;
  • thermostat;
  • thermistor;
  • moisture sensor;
  • gas valve coils;
  • igniter;
  • wiring connection.

Replacement may be more practical when:

  • the dryer has severe cabinet corrosion;
  • multiple major components have failed;
  • the motor and control board both require replacement;
  • critical parts are discontinued;
  • the appliance has repeated overheating damage;
  • repair cost approaches the value of a replacement dryer.

A complete diagnosis should be performed before deciding.

Photo guide

Diagnostic Photos

Clogged dryer lint screen reducing airflow
A lint screen that looks clean can still restrict airflow if fabric softener residue blocks the mesh.
Crushed dryer vent hose behind a dryer causing slow drying
A kinked or crushed vent hose can trap moisture and make a normal load need a second cycle.
Exterior dryer vent hood with weak airflow and lint buildup
Weak airflow at the outside vent is one of the fastest ways to spot a dryer vent restriction.
Dryer moisture sensor bars being cleaned during automatic cycle diagnosis
Dirty moisture sensor bars can make automatic cycles end early while clothes are still damp.

Local Dryer Service

We provide dryer repair in Cape Coral and Fort Myers, along with surrounding Southwest Florida service areas.

For scheduling, use the Contact page or call/text Art’s Appliance Repair directly.

Need service?

Dryer Repair in Cape Coral, Fort Myers and Southwest Florida

Art’s Appliance Repair provides electric and gas dryer diagnostics and repair throughout Cape Coral, Fort Myers, North Fort Myers, Lehigh Acres, Estero, Bonita Springs, Naples, and surrounding Southwest Florida communities.

We diagnose dryer problems including:

  • dryer takes two cycles to dry clothes;
  • long drying times;
  • weak airflow;
  • clogged or restricted vents;
  • dryer overheating;
  • heating element failures;
  • gas burner stopping during the cycle;
  • blower-wheel problems;
  • moisture-sensor failures;
  • clothes remaining damp;
  • burning smells;
  • control-board and thermostat problems.

Call or text (239) 688-9955 to schedule dryer service.

Service call: $0 with an approved repair. A $79 diagnostic fee may apply if the repair is declined.

View Dryer Repair
Call Text for Service